- A+
系统环境
centos7/jdk1.8+/Mysql5.6.5+/maven
架构
Sentinel是阿里巴巴于2018年开源的,面向分布式服务架构的轻量级流量控制框架,主要以流量为切入点,从流量控制、熔断降级、系统负载保护等多个维度来帮助您保护服务的稳定性。但是sentinel的这些规则则加载到内存中,容易丢失,为此,该团队提供了数据持久化的几种方案,我们这里选择Nacos.
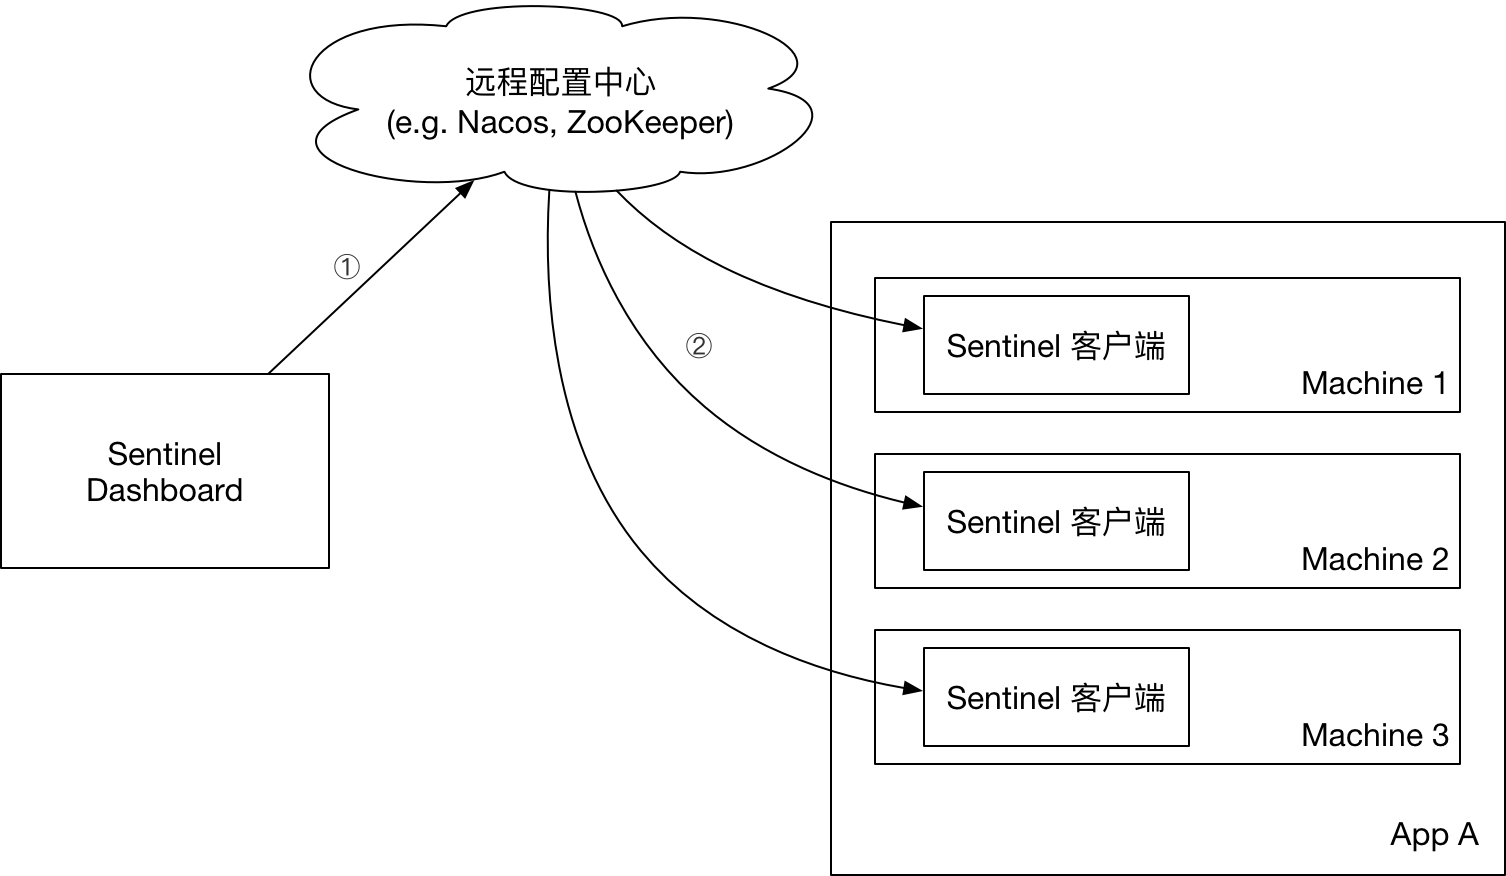
如上图:控制台推送规则至配置中心,客户端通过监听事件从配置中心获取流控规则。
安装Nacos server端
1:下载解压
下载地址:https://github.com/alibaba/nacos/releases
我这里下载的是nacos-server-1.1.4.zip
下载完成后解压进入到目录,如下:
[root@baiked nacos]# ls
bin conf data LICENSE logs NOTICE target
2:添加mysql配置
nacos使用嵌入式数据库实现数据的存储,不方便观察数据存储的基本情况,后来该团队支持了mysql数据源能力。
1:数据库创建nacos_config数据库,然后 进入到conf目录下,将nacos-mysql.sql导入到该数据库。
2:修改conf目录下application.properties,增加支持mysql数据源配置(目前只支持mysql),添加mysql数据源的url、用户名和密码,如下:
spring.datasource.platform=mysql
db.num=1
db.url.0=jdbc:mysql://192.168.241.1:3306/nacos_config?characterEncoding=utf8&connectTimeout=1000&socketTimeout=3000&autoReconnect=true
db.user=root
db.password=123456
3:启动
Nacos支持三种部署模式
- 单机模式 - 用于测试和单机试用。
- 集群模式 - 用于生产环境,确保高可用。
- 多集群模式 - 用于多数据中心场景。
目前我是单机模式,所有是使用的独立模式启动的,进入到bin目录下执行如下命令:
./startup.sh -m standalone
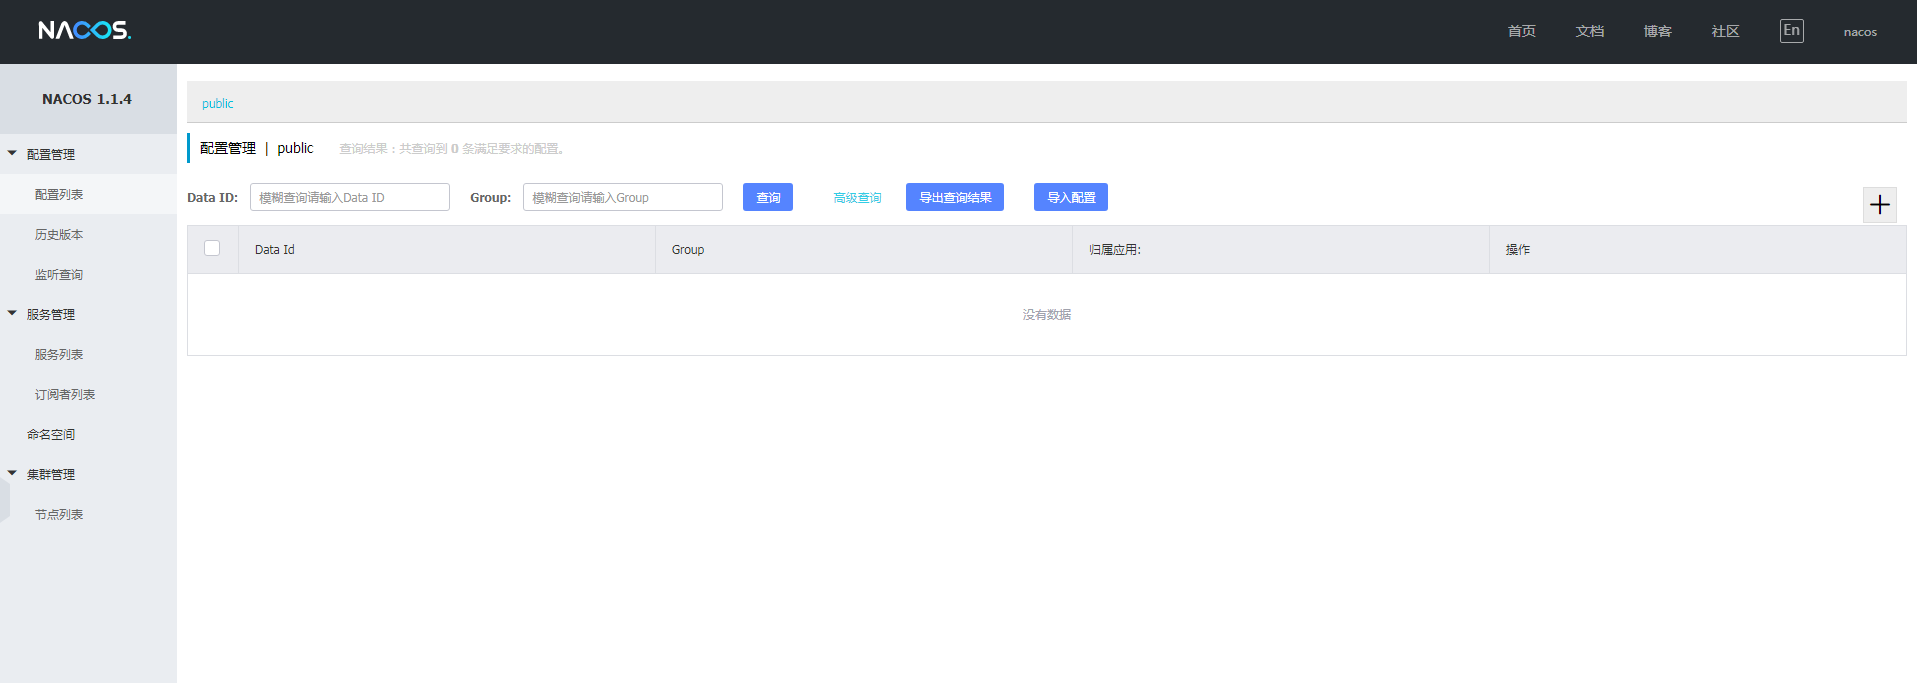
启动起来后,浏览器访问ip:8488端口,输入用户名nacos和密码nacos,如下图:
安装sentinel-dashboard
1下载sentinel-dashboard
进入到https://github.com/alibaba/Sentinel/releases,下载v1.7.0版本的源码。
2:修改源码
(1)修改 pom.xml
Sentinel-1.7.0\sentinel-dashboard\pom.xml原来的<scope>test</scope>去掉,如下:
<dependency>
      <groupId>com.alibaba.csp</groupId>
      <artifactId>sentinel-datasource-nacos</artifactId>
</dependency>
(2)添加nacos支持
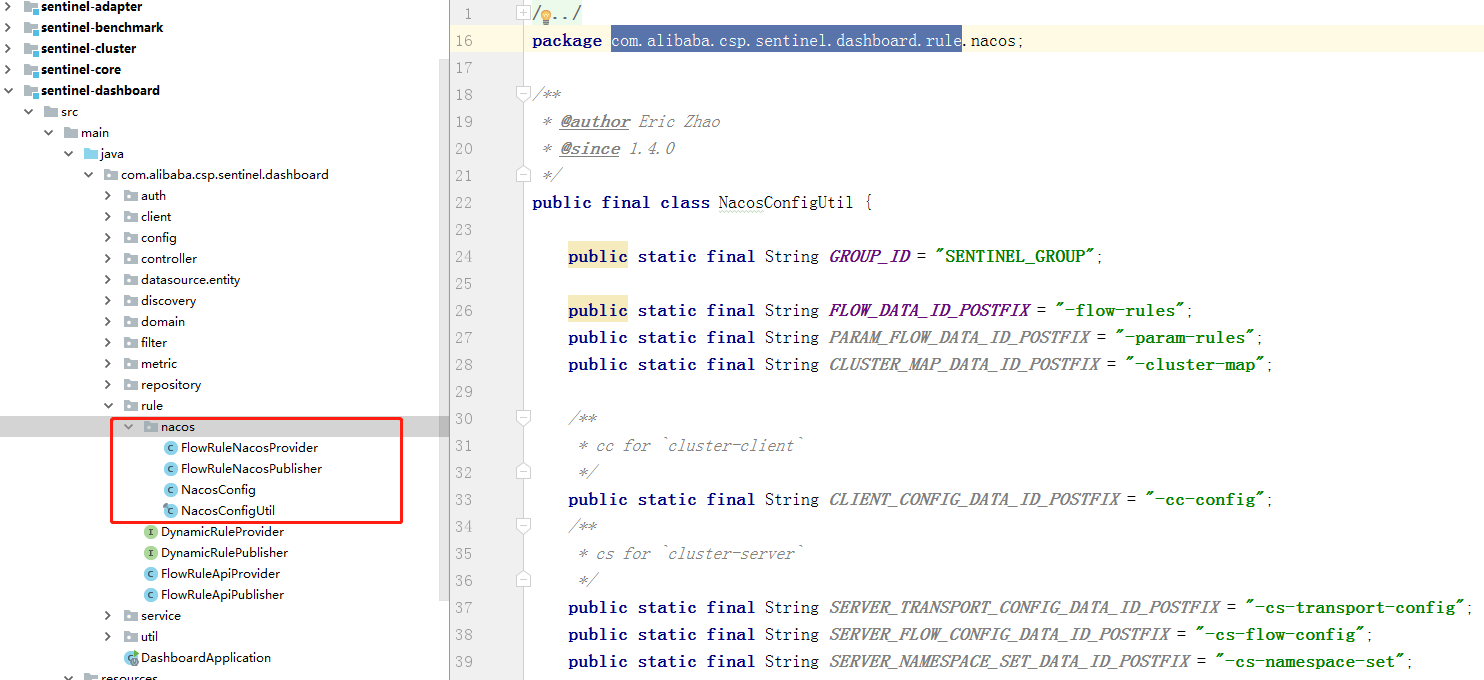
将 src/test/java下面的包com.alibaba.csp.sentinel.dashboard.rule.nacos拷贝到src/main/java下面的com.alibaba.csp.sentinel.dashboard.rule下,如图:
修改Sentinel-1.7.0\sentinel-transport\sentinel-transport-common\src\main\java\com\alibaba\csp\sentinel\transport\config下的TransportConfig.java增加如下内容:
/**
 * 添加nacos地址nacos.address
 */
public static final String CONFIG_NACOS_ADDRESS = "nacos.address";
public static String getNacosAddr() {
    return  SentinelConfig.getConfig(CONFIG_NACOS_ADDRESS);
}
修改 NacosConfig.java内容为如下:
/**
 * @author Eric Zhao
 * @since 1.4.0
 */
@Configuration
public class NacosConfig {
    @Bean
    public Converter<List<FlowRuleEntity>, String> flowRuleEntityEncoder() {
        return JSON::toJSONString;
    }

    @Bean
    public Converter<String, List<FlowRuleEntity>> flowRuleEntityDecoder() {
        return s -> JSON.parseArray(s, FlowRuleEntity.class);
    }
    @Bean
    public ConfigService nacosConfigService() throws Exception {
        return ConfigFactory.createConfigService(TransportConfig.getNacosAddr());
    }
}
修改com.alibaba.csp.sentinel.dashboard.controller.v2下FlowControllerV2指定对应的 Bean 开启 Nacos 适配,如下:
@Autowired
@Qualifier("flowRuleNacosProvider")
private DynamicRuleProvider<List<FlowRuleEntity>> ruleProvider;
@Autowired
@Qualifier("flowRuleNacosPublisher")
private DynamicRulePublisher<List<FlowRuleEntity>> rulePublisher;
修改webapp\resources\app\scripts\directives\sidebar\sidebar.html,流控规则路由从 dashboard.flowV1 改成 dashboard.flow,如下:
<li ui-sref-active="active" ng-if="!entry.isGateway">
<a ui-sref="dashboard.flow({app: entry.app})">
<i class="glyphicon glyphicon-filter"></i> 流控规则</a>
</li>
(3)重新编译
进入到sentinel-1.7.0目录下,执行mvn clean package -DsipTests命令开始打包:

(4)上传到linux启动
Sentinel-1.7.0\sentinel-dashboard\target目录下将sentinel-dashboard.jar上传上去,启动,启动名如下:
java -Dserver.port=8087 -Dcsp.sentinel.dashboard.server=localhost:8087 -Dproject.name=sentinel-dashboard -Dnacos.address=192.168.241.128:8848 -jar sentinel-dashboard.jar
-Dserver.port=8087 是Sentinel管理的HTTP访问端口
-Dnacos.address=192.168.241.128:8848就是新添加的nacos地址
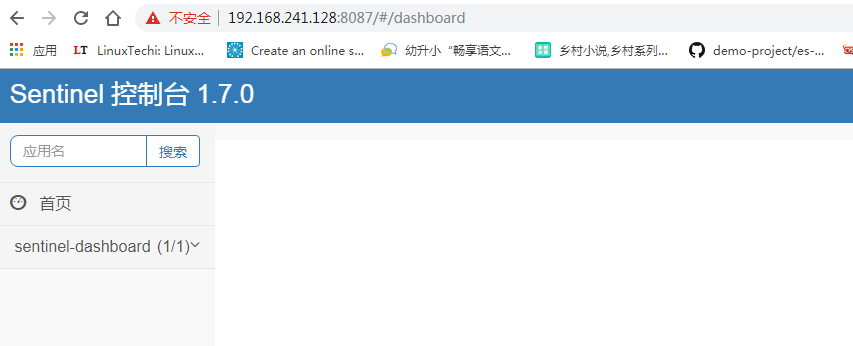
(5)访问sentinel dashboard管理端,如下图
客户端配置
(1)pom.xml 配置:
<modelVersion>4.0.0</modelVersion>
<parent>
    <groupId>org.springframework.boot</groupId>
    <artifactId>spring-boot-starter-parent</artifactId>
    <version>2.1.5.RELEASE</version>
    <relativePath/> <!-- lookup parent from repository -->
</parent>
<groupId>com.baiked.xubo</groupId>
<artifactId>baikedtools</artifactId>
<version>0.0.1-SNAPSHOT</version>
<name>baikedtools</name>
<description>Demo project for Spring Boot</description>

<properties>
    <java.version>1.8</java.version>
</properties>

<dependencies>
    <dependency>
        <groupId>org.springframework.boot</groupId>
        <artifactId>spring-boot-starter</artifactId>
    </dependency>

    <dependency>
        <groupId>org.springframework.boot</groupId>
        <artifactId>spring-boot-starter-test</artifactId>
        <scope>test</scope>
        <exclusions>
            <exclusion>
                <groupId>org.junit.vintage</groupId>
                <artifactId>junit-vintage-engine</artifactId>
            </exclusion>
        </exclusions>
    </dependency>
    <dependency>
        <groupId>org.springframework.boot</groupId>
        <artifactId>spring-boot-starter-web</artifactId>
    </dependency>
    <dependency>
        <groupId>com.alibaba.cloud</groupId>
        <artifactId>spring-cloud-starter-alibaba-sentinel</artifactId>
    </dependency>
    <dependency>
        <groupId>com.alibaba.csp</groupId>
        <artifactId>sentinel-datasource-nacos</artifactId>
    </dependency>
</dependencies>
<dependencyManagement>
    <!--注意跟 SpringBoot 保持一致 2.1.x for Spring Boot 2.1.x-->
    <dependencies>
        <dependency>
            <groupId>com.alibaba.cloud</groupId>
            <artifactId>spring-cloud-alibaba-dependencies</artifactId>
            <version>2.1.0.RELEASE</version>
            <type>pom</type>
            <scope>import</scope>
        </dependency>
    </dependencies>
</dependencyManagement>
(2)application.properties配置如下:
server.port=8085
spring.application.name=baiked

spring.cloud.sentinel.transport.port=8720
spring.cloud.sentinel.transport.dashboard=192.168.241.128:8087

spring.cloud.sentinel.datasource.ds.nacos.server-addr=192.168.241.128:8848
#nacos中存储规则的dataId,对于dataId使用了${spring.application.name}变量,这样可以根据应用名来区分不同的规则配置
spring.cloud.sentinel.datasource.ds.nacos.dataId=${spring.application.name}-flow-rules
#nacos中存储规则的groupId
spring.cloud.sentinel.datasource.ds.nacos.groupId=SENTINEL_GROUP
#定义存储的规则类型
spring.cloud.sentinel.datasource.ds.nacos.rule-type=flow
(3)Controller如下:
@SentinelResource("createtab")
@RequestMapping(value = "/netonlinetoolsbaiked/crontab/create", method = RequestMethod.POST)
@ResponseBody
public String createCrontab(@RequestBody String demo) {
 return 'hello it.baiked.com';
}
访问该接口后,观察sentinel管理端,如下图:

下来我们添加个规则,点击添加流控,输入阈值参数,为了测试方便,这里直接输入2

然后点击添加按钮,如下:

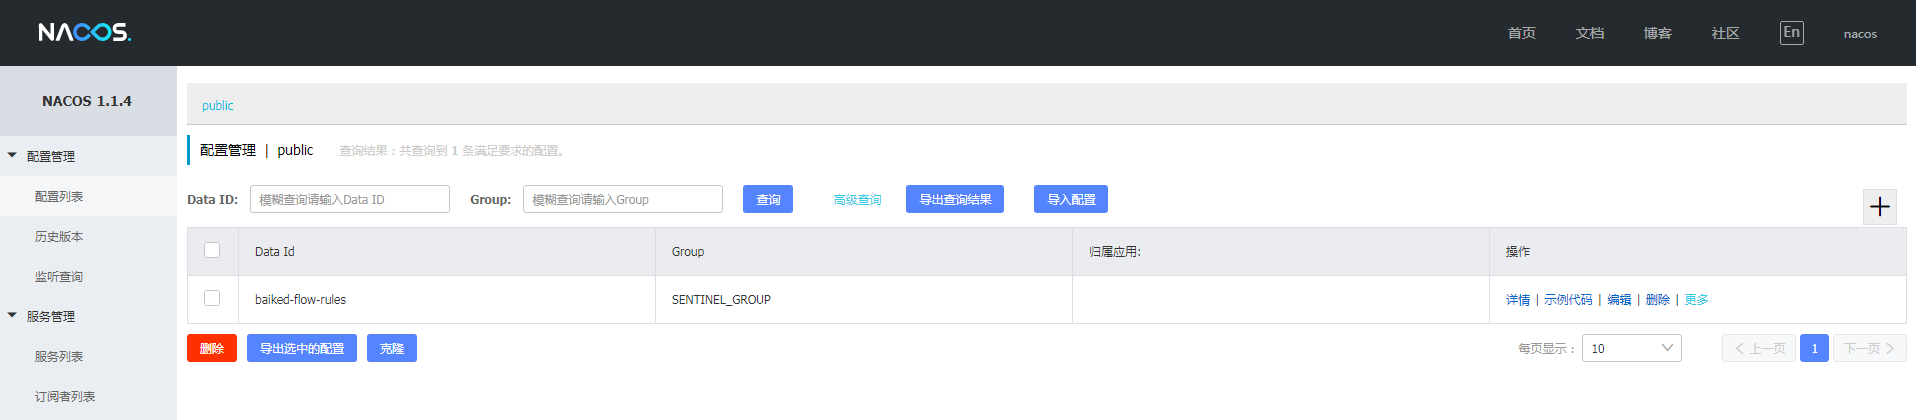
然后再等了nacos看看,如下图:
然后我们刷新接口看看效果,如下:
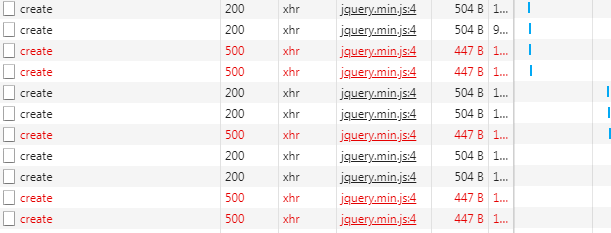
控制台日志如下:
2019-11-20 11:49:15.124 ERROR 3656 --- [nio-8085-exec-4] o.a.c.c.C.[.[.[/].[dispatcherServlet] : Servlet.service() for servlet [dispatcherServlet] in context with path [] threw exception [Request processing failed; nested exception is java.lang.reflect.UndeclaredThrowableException] with root cause

com.alibaba.csp.sentinel.slots.block.flow.FlowException: null
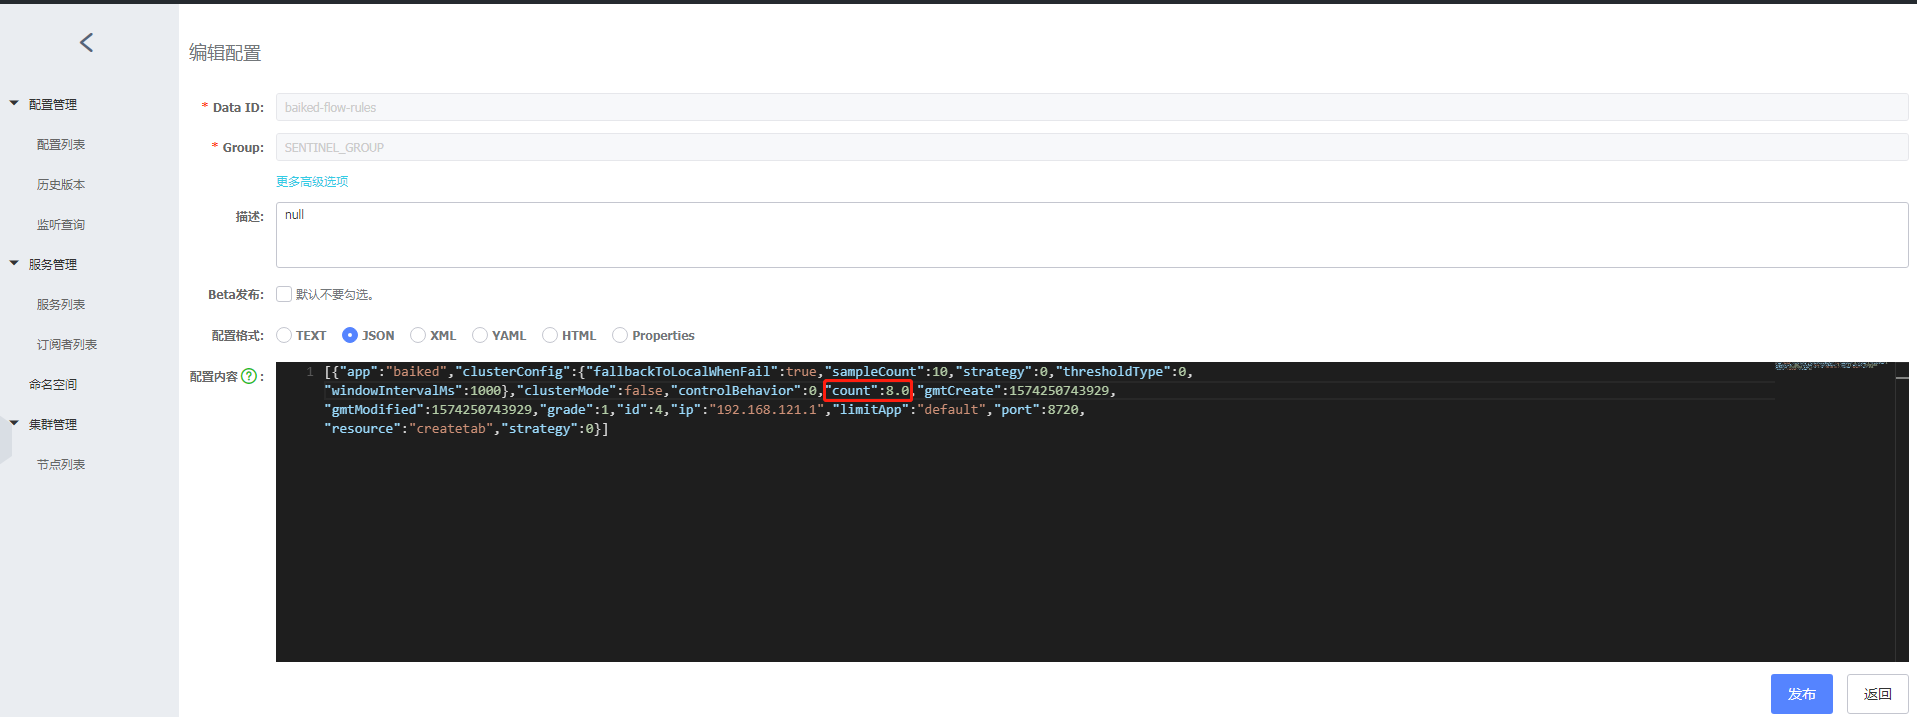
,下来我们通过nacos修改配置推送到sentinel上,我们进入到nacos后点击编辑,如下图:

把阈值改成8,如下图:
点击发送后,看看sentinel的情况,如下图:

好了,这就ok了
- 安卓客户端下载
- 微信扫一扫
-

- 微信公众号
- 微信公众号扫一扫
-